In creating Rey's staff I had a few decisions to make. One of those decisions was what color to paint it. You can see I chose a rust-colored paint due to the numerous images showing a darker staff. However, as you can see from the promo image above, at some point there was a more silver-colored version of the staff in existence.
Reference Photos:
My version:
Using the very popular Instructable's item list and adding a few found items of my own, I constructed the staff as best I could. If you have the option, I highly recommend doing it EmeraldB's way instead and use a thicker 3/4 inch PVC pipe than my 1/2 inch pipe (that Instructable's recommended). I also recommend following EmeraldB's example in using a Dremel to drill through each piece and slide them OVER a seamless PVC pipe for stability.
I had no Dremel and therefore was forced to make mine piecemeal which made it VERY flimsy. I also found it difficult to find a 3/4 inch thick pipe that was over 6 feet long (I'm TALL) at the hardware store. Therefore I decided to stick with the Instuctable's recommendation for 1/2" pipe.
I did end up using a dowel rod on the interior of the pipe to help it not bend as much but the bigger issue was the weakness of simply gluing pieces like faucets and bolts to PVC pipe with no adequate measure of stability running through the entire rod.
In regards to the Instructables Item List:
Honestly, I did loads of research ahead of time on the benefits of spraying the assembled staff with Plasti-Dip and even though I still chose to use it,
I can't honestly say it provided much of a benefit over flat black paint. It's slightly spongey, I guess, but I can't say that it was any more forgiving of all the "mistakes" in my PVC assembly than black paint would have been. My recommendation is to save the money and
not buy Plasti-Dip.
I also had trouble finding the exact faucet type recommended by the Instructables list. I was not able to take it apart as recommended, therefore I ended up having to substitute craft foam to make the tiered top and bottom of Rey's staff. I wish I would have just made the whole thing out of craft foam like
this lady did and saved myself a ton of cash AND in return added a ton more stability to my staff! Oh well.
Anyways, after painstakingly assembling all of the parts from the Instructables list and using variations of PVC glue, expanding Gorilla Glue and even craft foam to mimic certain elements, I was ready to spray paint it! This was BY FAR the best part. I used Plasti-Dip as the black base coat and then applied some rust brown paint in a light, splotchy methods across the piece. If I added too solid of a rust coat I went back over it with some flat black paint.
Other Hardware and Accessories:
I was luckly enough to stop by an Army Surplus store that had a bunch of parachute straps on clearance for $1 each. The green straps were useless because they were a synthetic parachute material, however, they had the most amazing beat-up clips on them! Mine are black but they are similar to
these from Joann Fabrics.
For the staff's shoulder strap I searched online and in my local fabric stores for cotton belting in khaki or olive green. I had ZERO luck... and instead decided to steal my husband's trusty belt for the occasion:
 |
| I had trouble finding an Olive or Khaki strap that wasn't synthetic, so I ended up stealing my husband's belt for the job. |
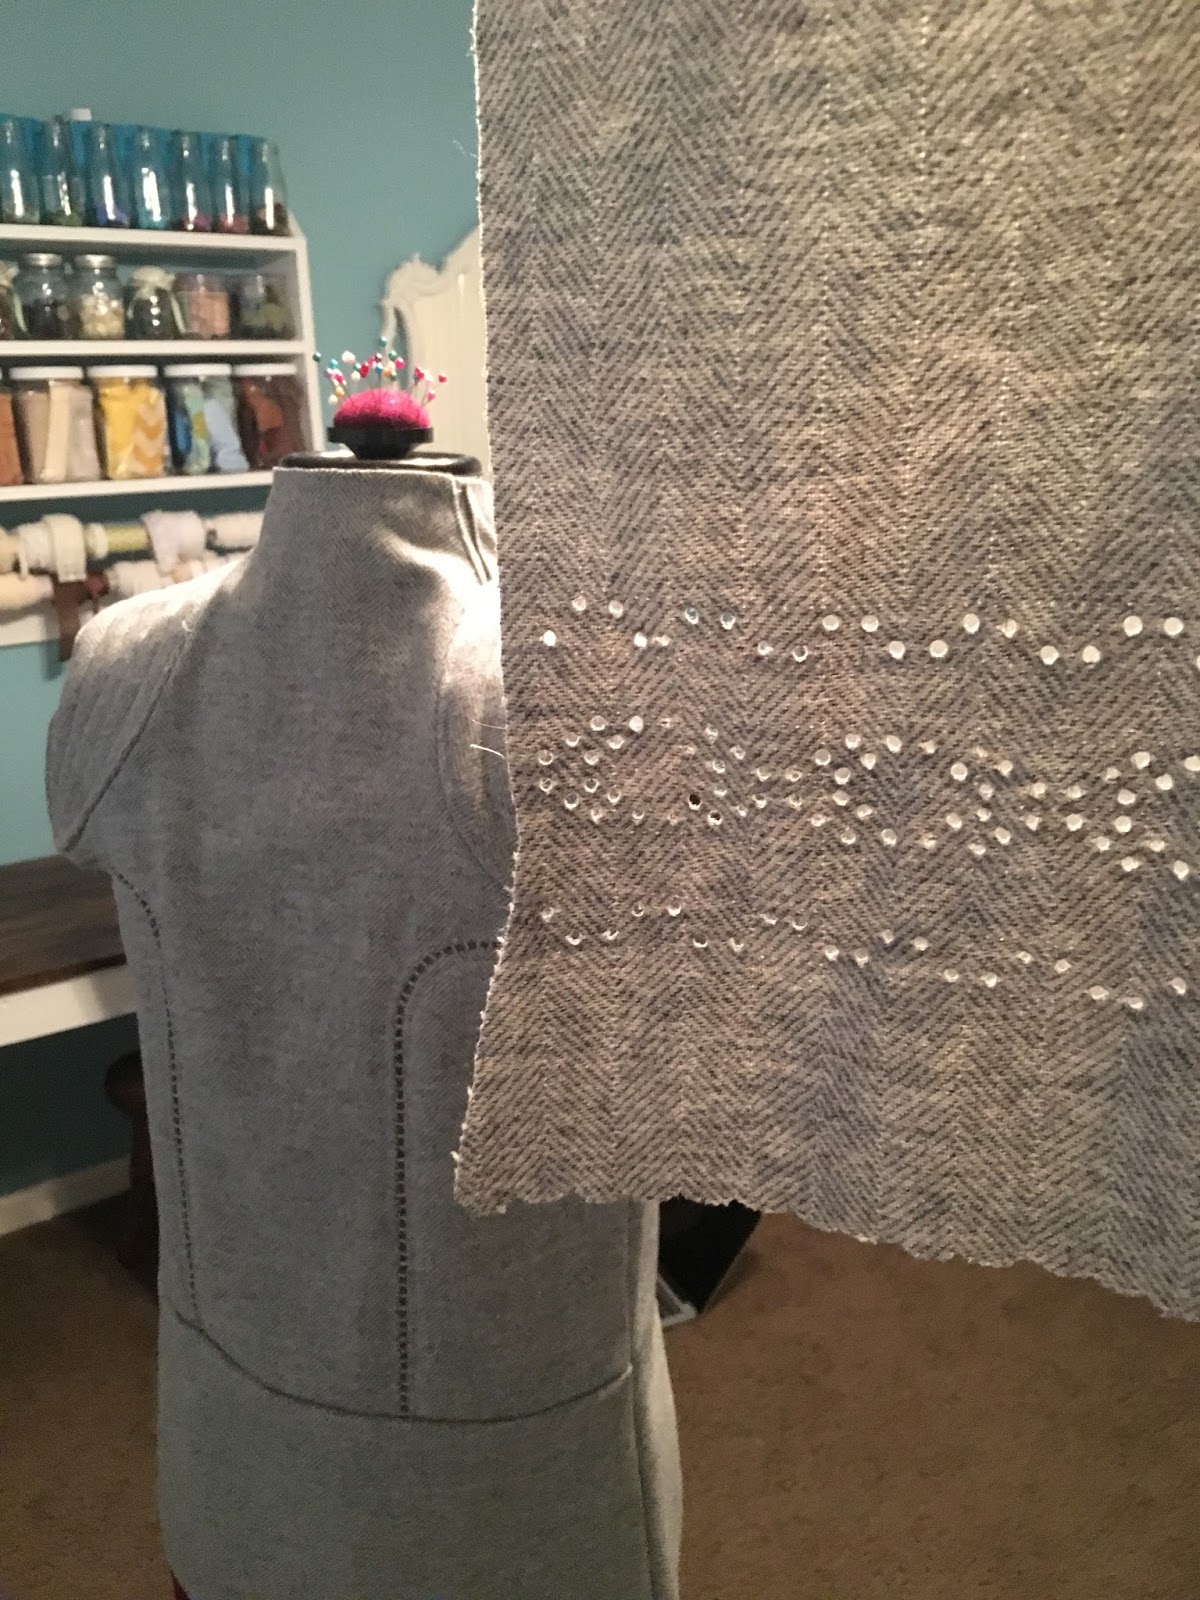
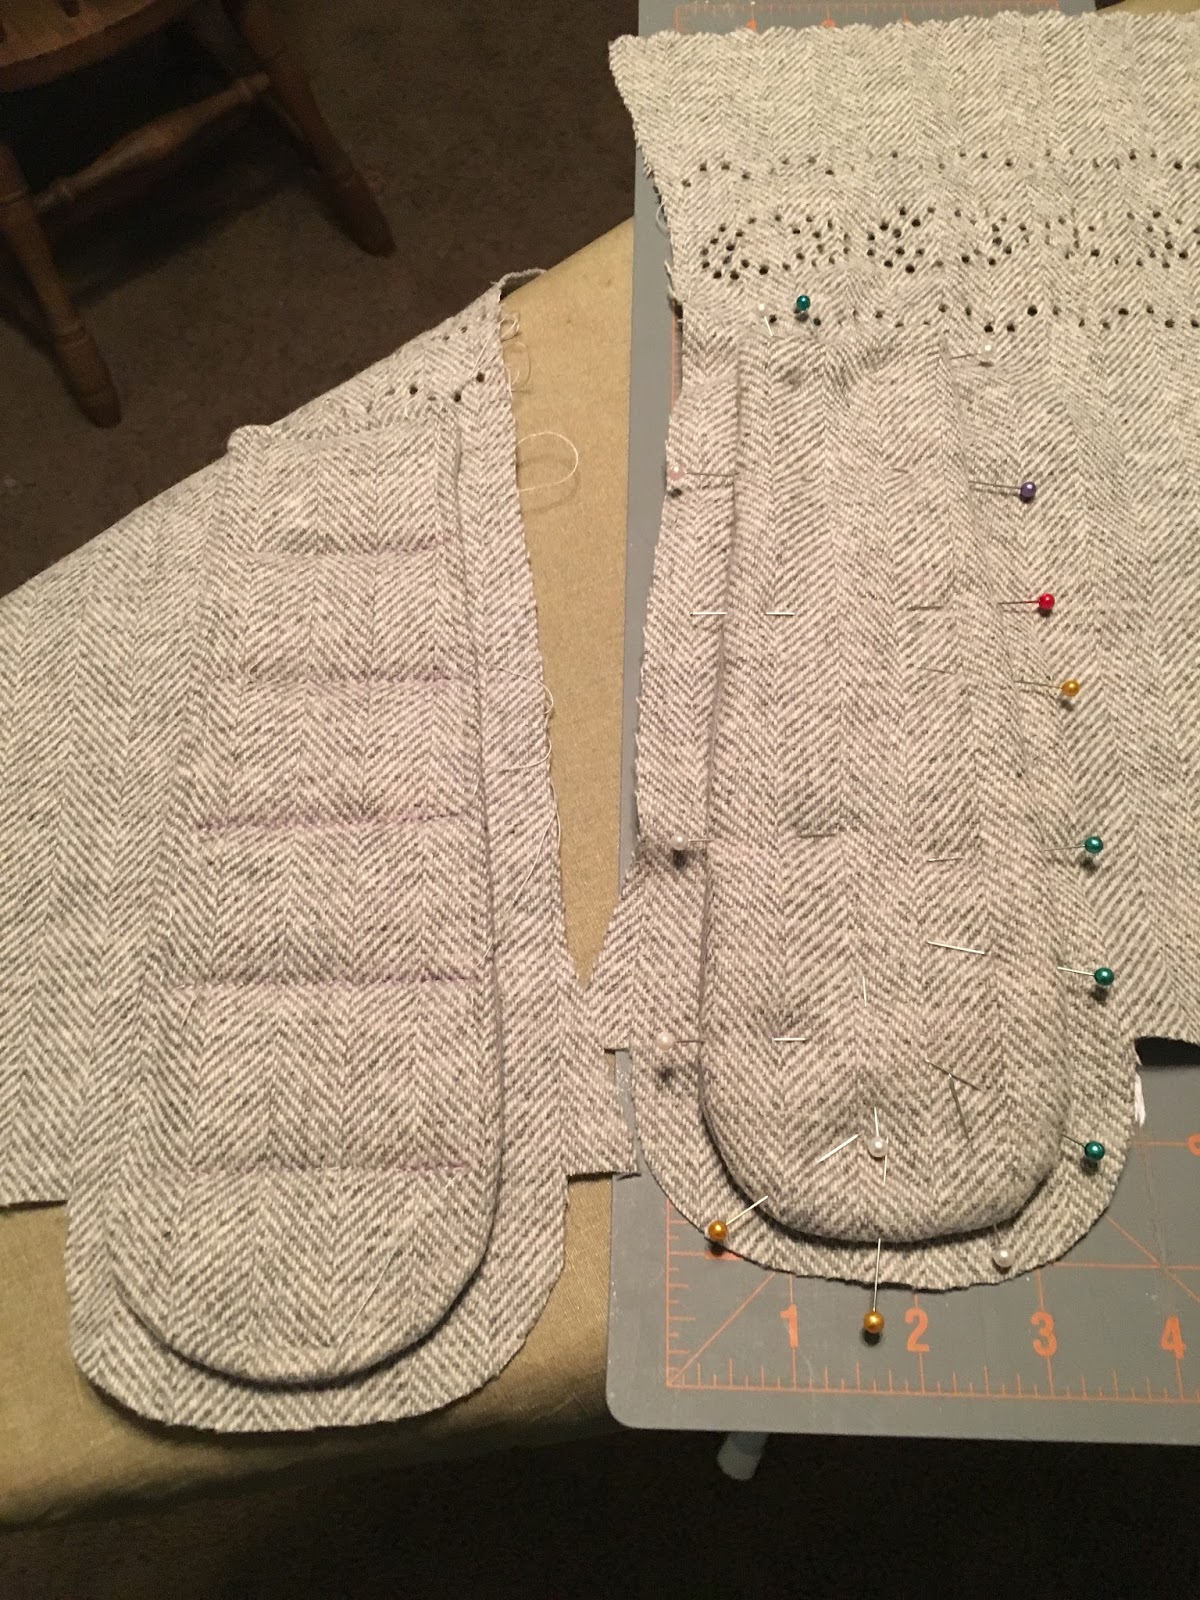
I used all sorts of fabric scraps from my sewing collection for the center portion of the staff. I had saved this moldy hamper bag I found on the side of the road a long time ago (and had cleaned the heck out of) and it FINALLY met its purpose in this project. I shredded it into 1 inch sections and sewed them all together for the ratty white portions. I even used some leftover material from Rey's pants for another darker portion.
As you can see below, I made a mini-me version for my daughter as well.
Rey's Blaster Reference Photo:
And my version:
I bought a 3D print kit from
JensReplicas on Etsy and I have to warn you: In order to make a 3D print serviceable, you must first
sand the HECK out of it with increasingly finer grades of sandpaper. This is because the striations on the print
do not look like metal at all. You must sand those down in order to achieve a smooth finish.
 |
| This is AFTER sanding the striations down as much as I could. |
I debated whether to keep the striations on the handle pieces, however, since they almost appeared like a wood grain (see dark black handle on the right). As you can see, I eventually decided to sand them down as well (see the handle on the left).
To create the rivets seen on the reference image, I tried to hammer down some grommets in order to flatten them enough to glue on. This failed miserably since I could not get them flat enough.
 |
| It worked on ONE grommet, and the rest were seriously deformed. |
I tried many things to mimic the look of the grommets. The smallest size screws available didn't even work because they would butt-heads with the screw coming from the other side!
I eventually had to use the smallest size furniture tacks available at the hardware store by pre-drilling holes and then gluing them in. Here you can see I've glued in two of the tacks and still have many more holes to fill.
Leatherwork required to make a holster:
I checked out some reference images and since I couldn't find an exact template available online I ended up making my own template one out of a filefolder and eyeballing where I thought the leather should be.
UNFORTUNATELY I did not account for the additional width the 7/9 oz leather would add to my holster! Ugh, I had to skive off the fleshy side of the holster like crazy and even wetted the entire thing and pounded it like I was tenderizing meat in order to stretch the leather to fit my blaster because of the width error. FYI: File folders are A LOT thinner than actual leather.
 |
| Measure four times to be safe... cut once. |
I wish I would have understood EmeraldB's instructions better so I could have used her beautiful holster template. The REASON her template is in separate pieces is because she lines the inside with the skin (beautiful side) so when you bend the belt attachment over NO FLESH SIDE shows at all. It's gorgeous.
Instead, I had to water down my Tandy Leather Antique Gel Dye so it wouldn't stain the flesh side too dark (as it did in test runs for the belt).
Anyways, here's the final product:
Luke's Blue Lightsaber:
Lucky I had this Hasbro toy laying around! I just hacksawed off the plastic blade and then fixed up some parts with Rub n' Buff silver paint. Easy peasy!
But it looks great when it's like this:
That's it for now! Please check out my other Star Wars Blog posts: