
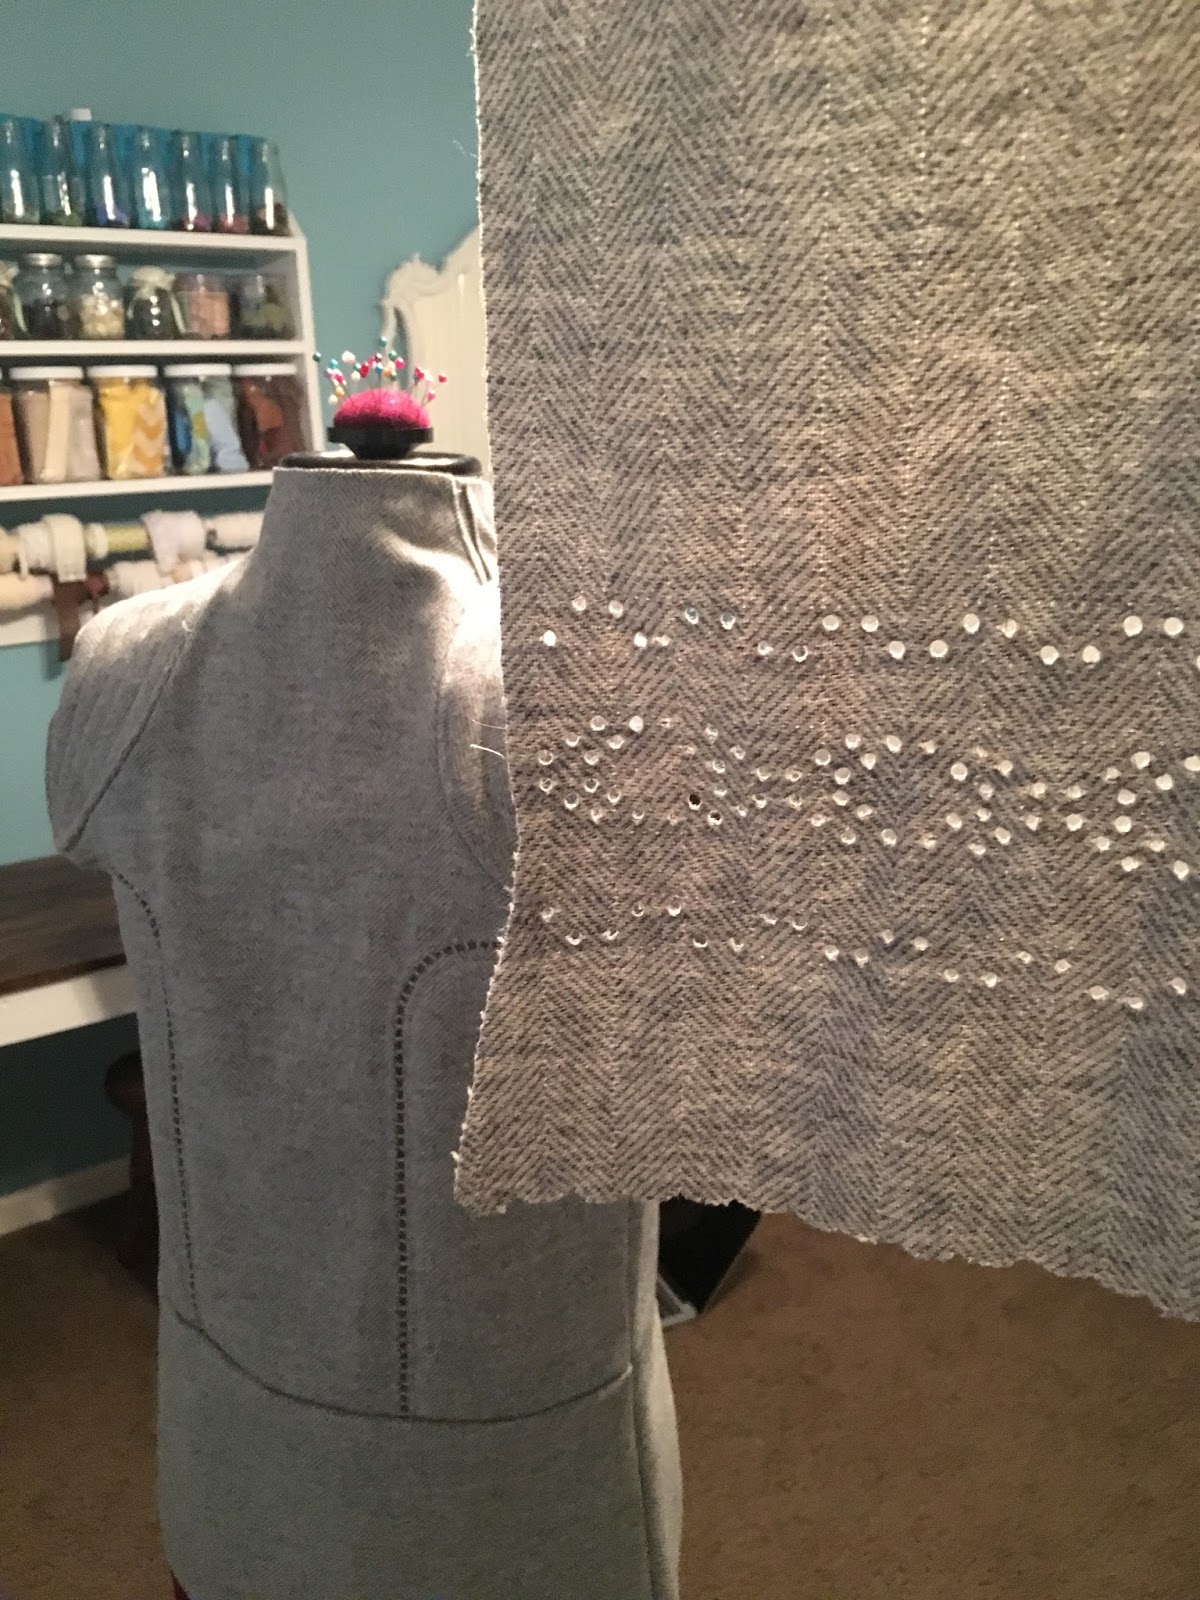
It was a bit of a challenge to for me recreate Rey's gauntlets! I used this image as my guide since the hole pattern is fairly visible here.
I just barely had enough fabric left over from Rey's jacket to create these... phew!
First I started by printing out a 10 squares per inch sheet of graph paper. Then I began planning a repeating pattern of a two inch segment. My final design was greatly simplified from the original pattern which Emerald B so beautifully recreated here. She was much more ambitious as I seriously doubted my ability to get all these holes into such a small space.


Being resistant to ever actually punch out fabric, in order to recreate the hole pattern on Rey's gauntlets I first attempted to use an awl. Sadly, I would have to leave the awl in the fabric overnight with some fray check to have any hope of the holes keeping their shape. Since there are a million holes in each gauntlet, I came up with this solution:

Yup. Battleship. Battleship pegs have a skinny end to hold the pegs into the pegboard and a thicker end which acts as a stopper atop the gameboard. They are perfect for this project as you just poke through the fabric with the awl place the skinny end of the peg in its place until the fabric conveniently rests atop the stopper. After all pegs are in place (and the invisible pen ink disappears), you just gob tons of fray check on top of the whole thing and let it dry! Ta da!


 |
| Brilliant, don't cha' think? |
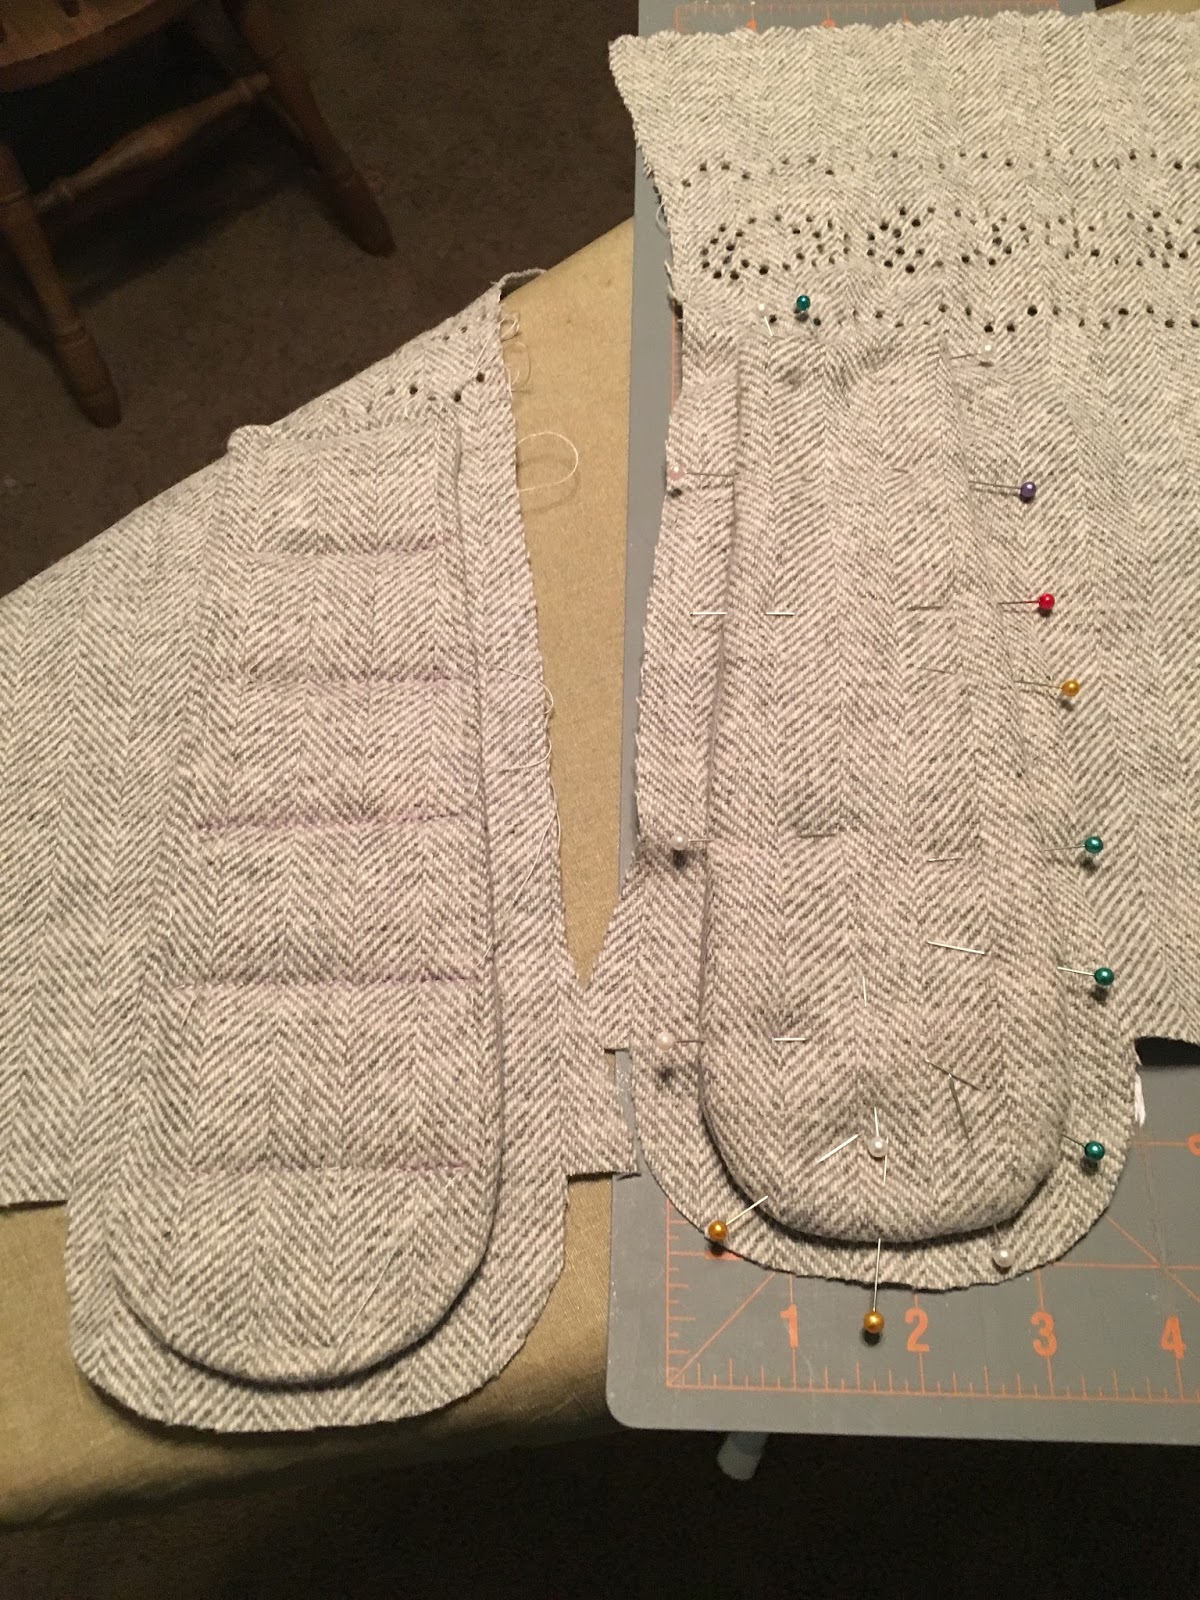
I considered lining the gauntlets so the embroidery would have something to hold on to... but I hated it. The gauntlets became to bulky, too thick, and too much of a pain to be worth it. Instead I just applied a generous helping of Fray Check to every edge and let that do the work of keeping the fraying from destroying all my embroidery work.
 |
| Another nixed idea... SEE YA'! |

  |
| The ugly back. |
And now the finished product:

No comments:
Post a Comment