The Hamildress is in progress!
I repeat, the Hamildress is in progress!
Here is Part 2 of my journey to sew a dress for a trip to see the Original Broadway Cast of Hamilton in New York. This dress is meant to be a replica of the poster art for Hamilton so I had Vicki Welsh hand-dye my cotton lawn fabric to match the design. Basically this started after a crazy idea got in my head and I went with it!
Here's Part 1 about the hand-dyed fabric of awesomeness if you're interested.
Sewing the toile/mockup:
 |
| Modifications to V8789 |
This is the first time I've been so nervous about something that I made two of these suckers! For the first attempt I extended the torso a bit, redrew the darts then after my fitting I realized I wanted a more fitted look. I
marked the increased darts on the first toile, transferred the markings onto my pattern and and was eventually happy with the fit of the second toile (except
for the large sleeve armscye that I don’t know anything about fixing).
 |
| No pics of my toile here, just Hulk presiding over the markings transfers. |
Cutting the fabric:
Once my fabric arrived and I saw how sheer it was, I decided to flatline my bodice. Flatlining is a historical
technique that gives more structure to the garment which I learned from my friend Jennifer Rosbrugh at HistoricalSewing.com. I cut out two of each bodice piece
and then flatlined the twin pieces together so they operate as one. I
decided to use the self fabric for the flatlining pieces because, at the time,
my brain was telling me this the best option. I think my brain believed having
another hand dyed piece behind the sheer bodice fabric would add some depth to
it. I haven’t yet stepped out into the sun so I’m not quite sure the depth is visible. Near
the end of my project when I was desperately low on fabric resources I thought
better of the self-fabric idea; It might have been better to choose a
flatlining fabric with more weight.
Sewing the dress:
In order to keep the skirt as one continuous strip I mixed
and matched pattern V8789. I chose View A for the bodice but View B for the
skirt because it kept the four-yard strip as one piece. This didn’t mess anything up
at all in fitting the two pieces together, so it was definitely a good move!
Since I lengthened the bodice a smidge, the zipper just
barely fit in the allotted spots! Yay, no changes needed! Did I mention I suck
at putting in a zipper? It’s not a historical technique so I really don’t know
what I’m doing. Sure enough, I made the tip of it look ugly and this cotton lawn
fabric is unforgiving when ripping out seams and resewing them. I have left the mangled seam as-is for now with the thought that I will never raise my arm… ever.
After gathering and attaching the skirt I realized I wasn’t
happy with my adjustment to lengthen the bodice... I probably could have left that pattern piece alone! With the weight of the skirt my bodice waistline seems
to drop below my natural waist. This causes problems for the belt since it
naturally wants to sit at your smallest point; I am worried that after moving in
the dress all day that the belt will try to creep up to expose my waist seam. I
hope not since I hate garments that
you have to constantly mess with. We shall see.
The belt was a pain in the butt. I had to make a very
important decision: since I didn’t have much fabric left to work with, I had to
choose between following the pattern’s recommendation to cut the belt on the
bias (and therefore have a light-dark gradient effect from one side of the belt to the
next), or try and cut the belt on the grain in the medium color range in
between my bodice and skirt color. I was
nervous because I only had one shot to get this right because once this remnant
was cut, it was done. I realized that by cutting on the grain I would not have
any “give” to the belt… which is a major problem. I thought I would try making
it more structured and pleated rather than gathered so it wouldn’t angle unnaturally
around my waist. See the final product on the left!
 |
| Totally overwhelmed by Joann's button choices. |
I wanted the belt pleats to be uneven (rather than perfect) and I
think it turned out beautifully! My friend Rebekah had the amazing idea to add
brass buttons for a military detail. Even
though I was initially a little overwhelmed in button choices I am thrilled
with the result!
I still have to hem the dress (the pattern recommends 3
inches!) so the dress is not yet complete… but just you wait!
And here's my latest additions:
 |
| Checking the (unsewn) hem length over my new black crinoline! |
 |
| And holding up the textured dress back (sans belt) in comparison to the Hamilton Cover Art! |
 |
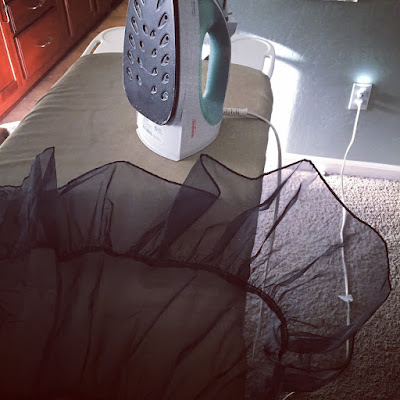
| Ironing the black crinoline (instead of the yellow!) |
Want to see more? Here's a link to:


Oh my gosh, that's looking fabulous!
ReplyDeleteBeautiful..
ReplyDelete